The AutoSoftWay appointments platform helps you oversee and manage your staff’s time
First ensure that you have registered your employee information on AutoSoftWay.
Navigating to the appointments menu
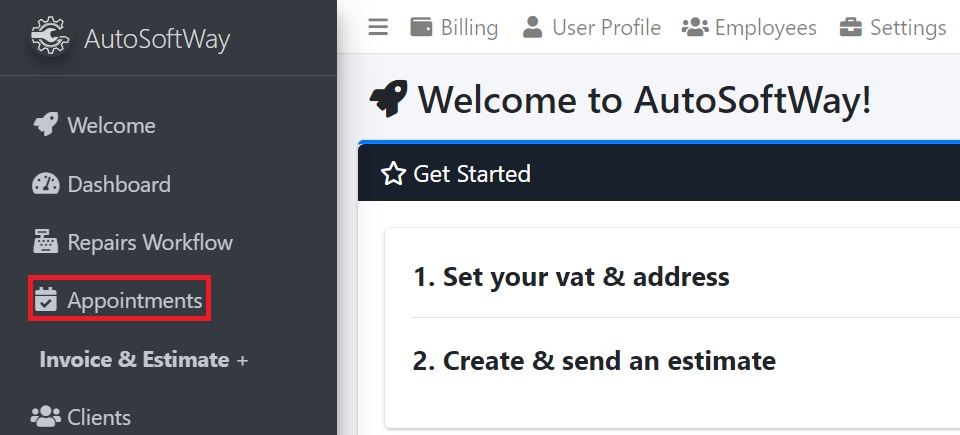
Starting from the ‘Welcome to AutoSoftWay’ page, navigate to sidebar menu, and click on the ‘Appointments’ tab.
Appointments menu: basic navigation
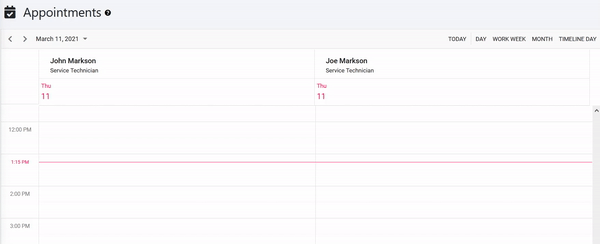
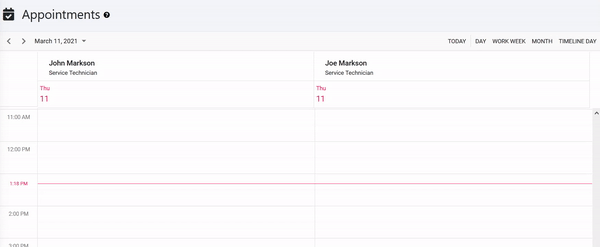
The appointments menu will display today’s calendar by default, for all of your available mechanics.
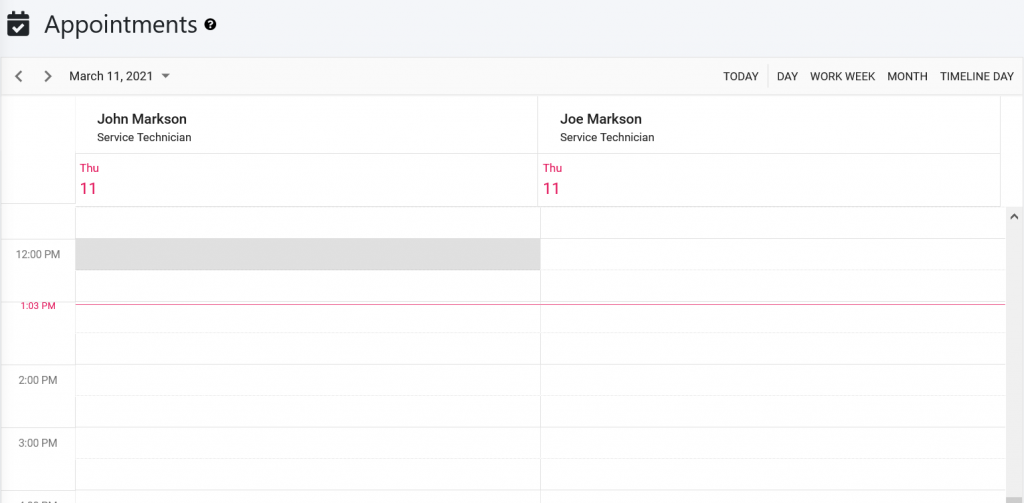
You can navigate between days of the week by clicking on the ‘<‘ and ‘>’ arrow buttons on the top left corner of the menu.
Alternatively, you can also select the day of the week by clicking on the date, which will drop-down a monthly calendar.
Finally, you can also switch the appointment’s calendar view using the formats available on the top right corner of the menu, where you can alternate between daily view, weekly view, monthly view, or timeline view — whichever you prefer.
Creating an appointment
To create an appointment for an employee, simply navigate to their calendar in the appointsment menu, and double click on an empty time slot.
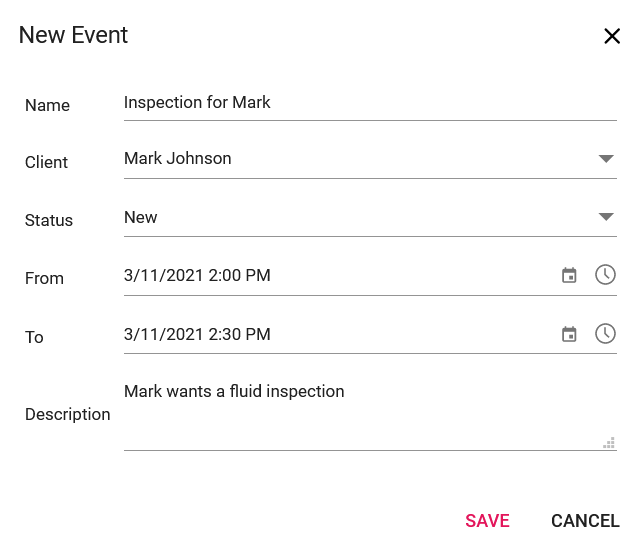
This will generate a pop up form for you to fill in details about the appointment.
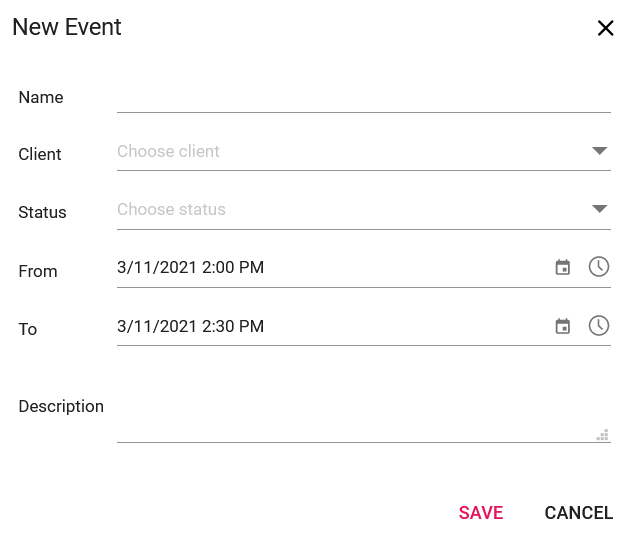
Proceed to fill in the form with the appropriate information:
- Name: the name of the event/appointment
- Client: the client who this appointment is for (ensure client is created and available beforehand)
- Status: choose from new, active, or closed
- Time (from/to): input the length of the appointment
- Description: include a brief description or note for you to include any relevant details regarding the client or appointment.
Once the information has been filled, proceed to save the appointment into your employee’s calendar by clicking ‘Save’.