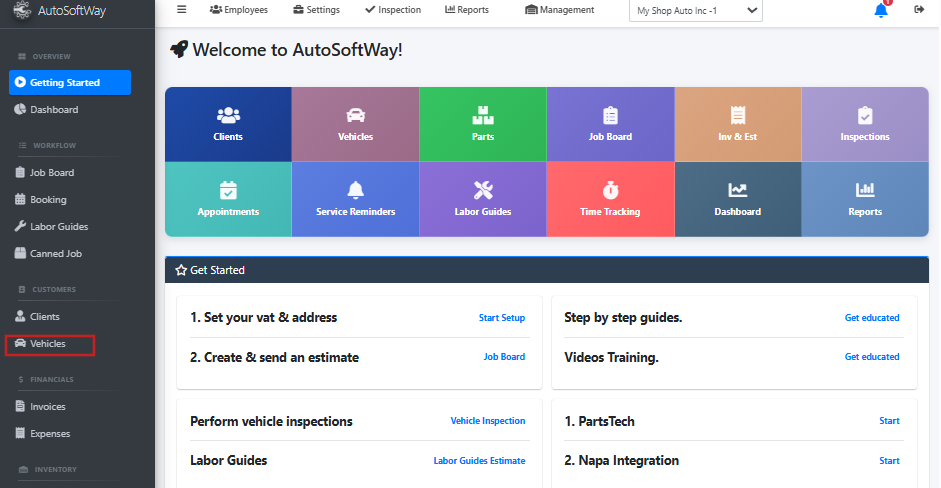
Step 1
Starting from the ‘Welcome to AutoSoftWay’ page, navigate to the side bar, and click on the ‘Vehicles’ tab.
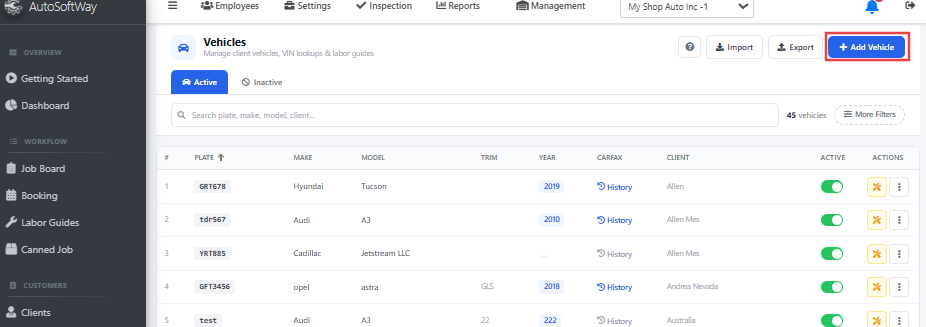
Step 2
Click on ‘Add’ or ‘Import’ for the Vehicle List.
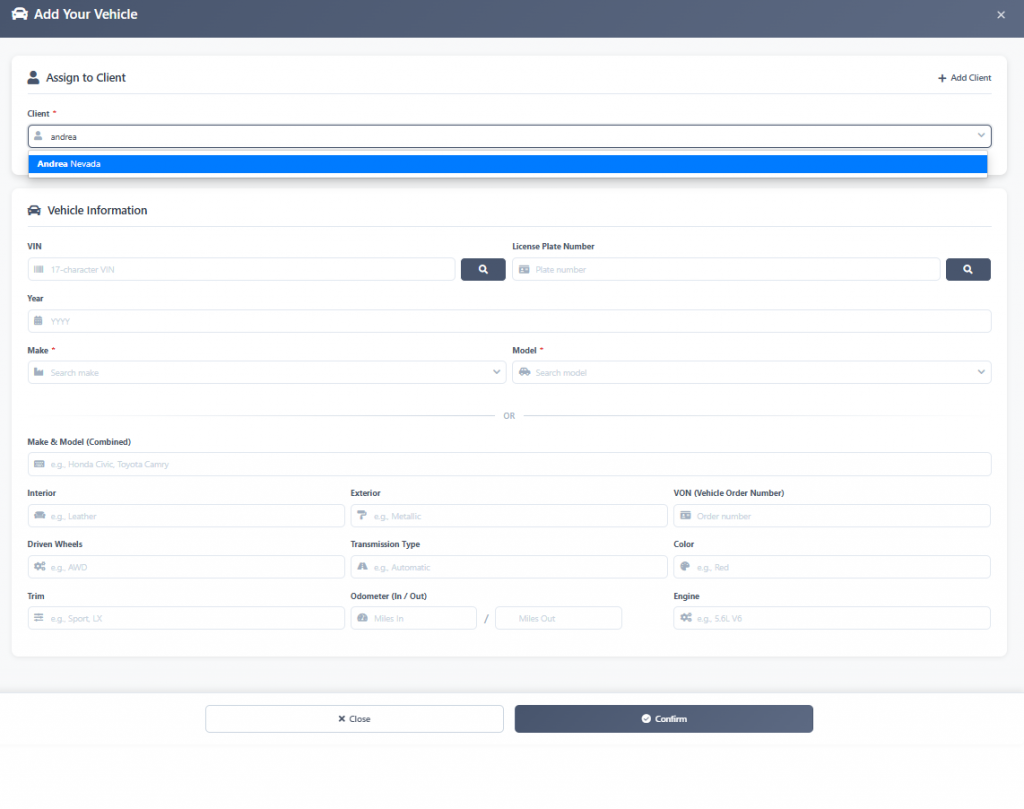
Step 3
A pop up window should display empty fields for a new car. Please ensure that you have entered a client into the system first, otherwise this step cannot be completed. Proceed to fill these fields with the appropriate vehicle information for your client.
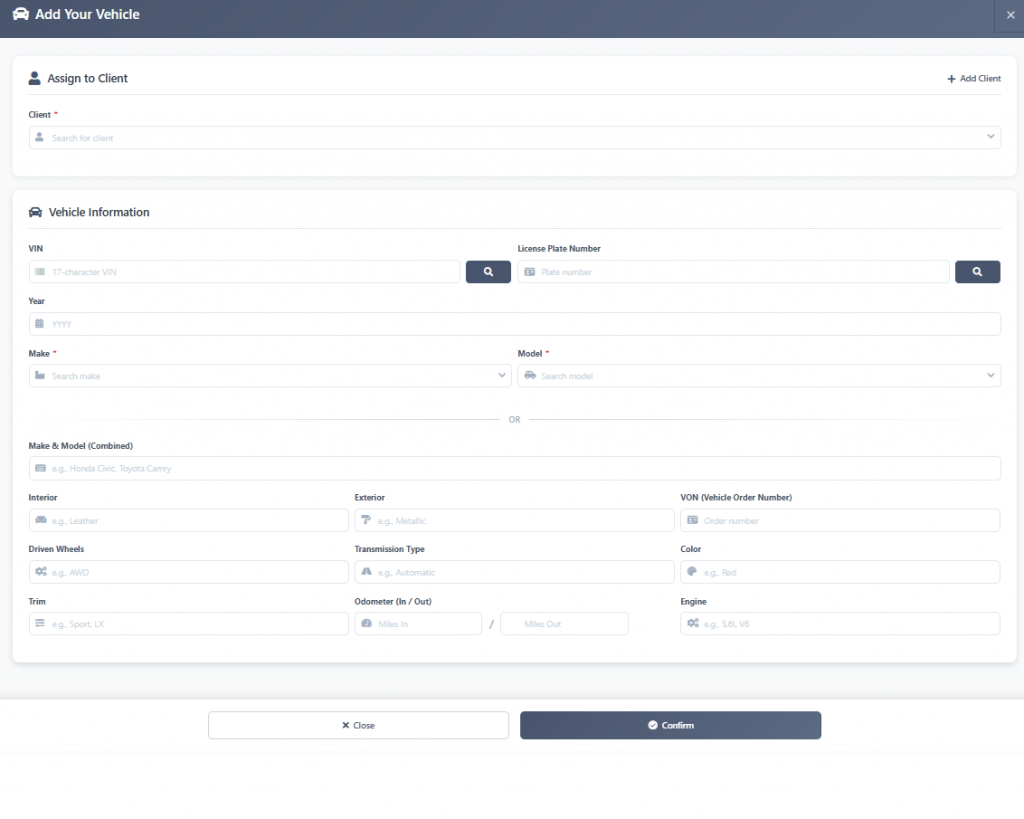
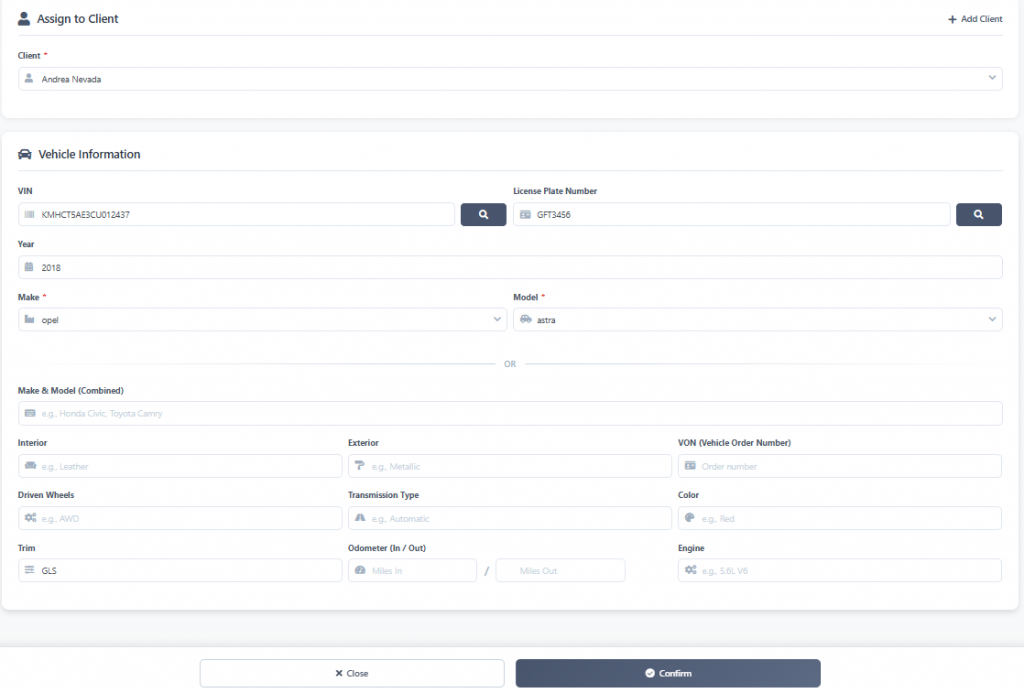
Step 4
After entering the client’s vehicle information into the appropriate fields, click on the ‘Confirm’ button.
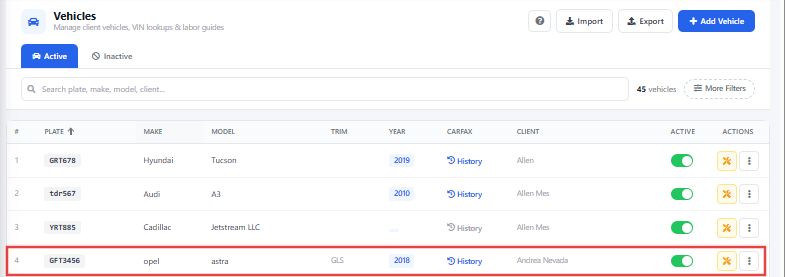
Step 5
Your newly entered client’s vehicle should now be visible in the Vehicle List menu page.